Advice and tutorials
How to maintain a bottle?
The bicycle bottle, an essential accessory for any cyclist wishing to escape for more than half an hour by bike. Hydrate yourself with a sustainable water bottle reduces your environmental footprint and saves money by using tap water instead of bottled water. Hydration during practice is important, but it can be disturbed, even dangerous, due to poor maintenance of your container. Here are our tips for keeping a container in perfect condition.
What you should not do :
The most common mistake is to leave your sugar or isotonic drink in your bottle for several hours or days after your training. This will have two consequences on your bottle:
- Bacteria proliferation: often at the bottom of your bottle, you see black or even colored dirt appearing, leading to a proliferation of bacteria. Although they are mostly harmless to the human body, it is necessary not to let them proliferate in your bottle.
- The appearance of an unpleasant odor inside the bottle: by leaving your sweetened or isotonic drink in your bottle, the bottle will retain the odor of this one, which will give a particular odor to the next drinks that you will use in it.
Not washing your bottle regularly: Even if we drink mostly water, it’s imperative to wash your bottle regularly to remove dirt, residue, and other from it.
How to maintain its bottle:
The first thing to do at the end of your bike ride is to remove the bottles from your bike, empty them and return them to your sink.
Then, several solutions are available to you:
- Dishwashing, if your bottle allows it, is the most effective method if your bottle is very dirty. However, due to the high heat of the water and the drying process, dishwashing can damage plastic bottles over time.
- The traditional method of washing up with hot water and elbow grease.
- Baking soda with white vinegar: ecological, cheap and natural. Be careful not to use baking soda for metal bottles!
- The effervescent sterilization tablet for baby equipment and bottles. If you have a young child, you should not have too much trouble finding this.
For some of these solutions, you will have to give a little of yourself to remove the dirt by rubbing the inside walls of the bottle. Reaching the bottom of a bottle can be complicated, so it is necessary to equip yourself with a cleaning brush adapted to the shape of your bottle. Depending on the cap system, some parts are inaccessible, so it must be soaked.
Dry or wait until your bottle is completely dry before storing it. Close your bottle tightly so that no dust gets inside and store it.
Zéfal bottles and maintenance:
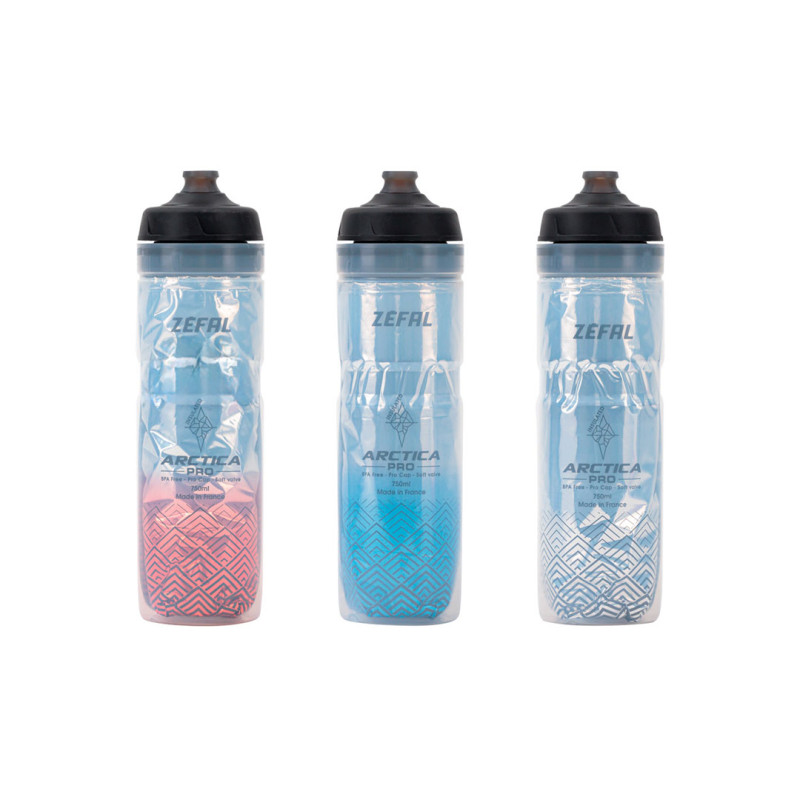
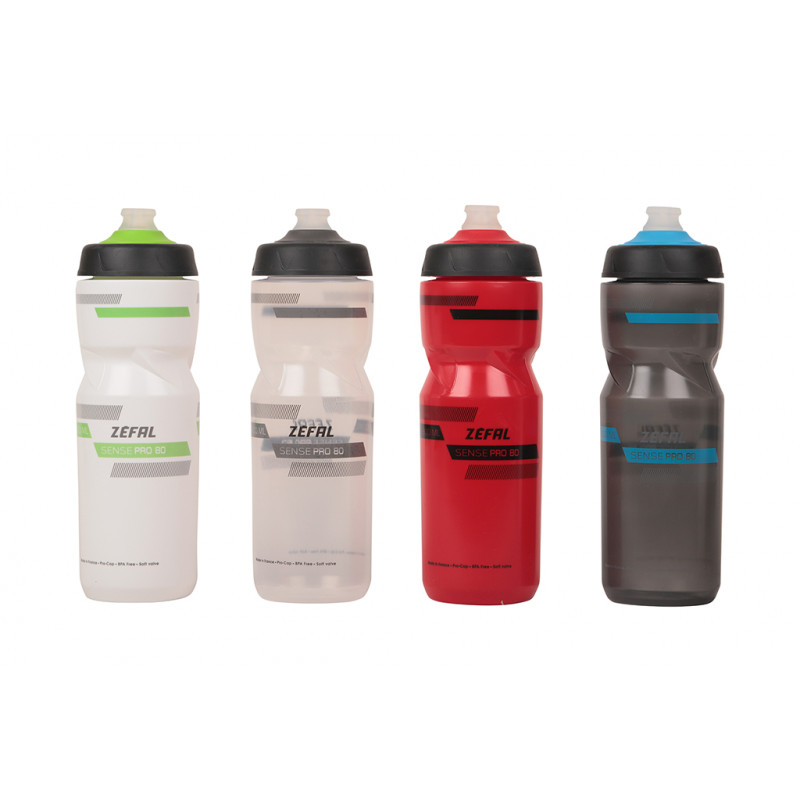
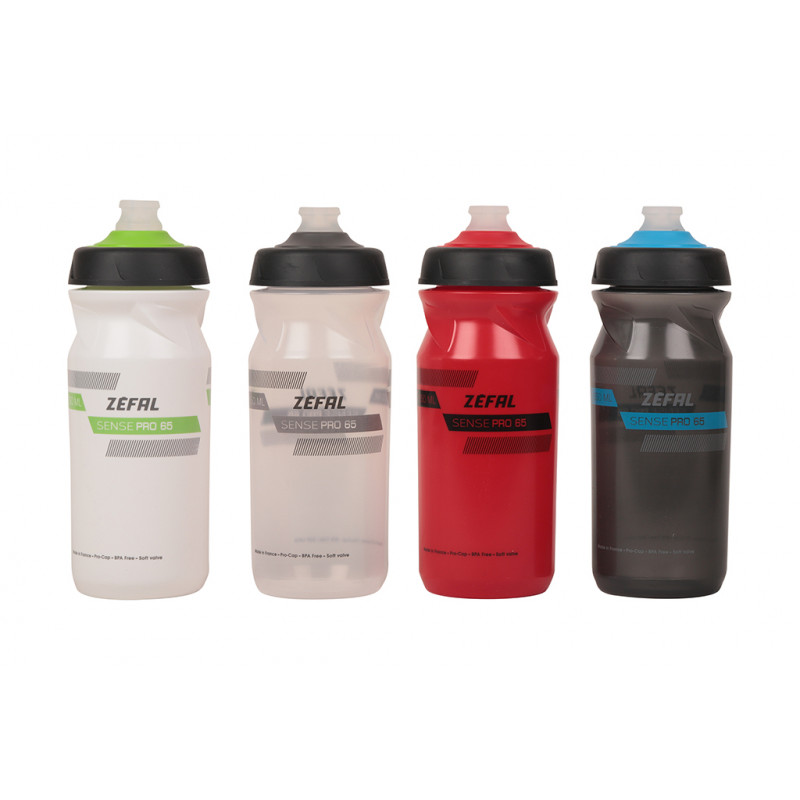
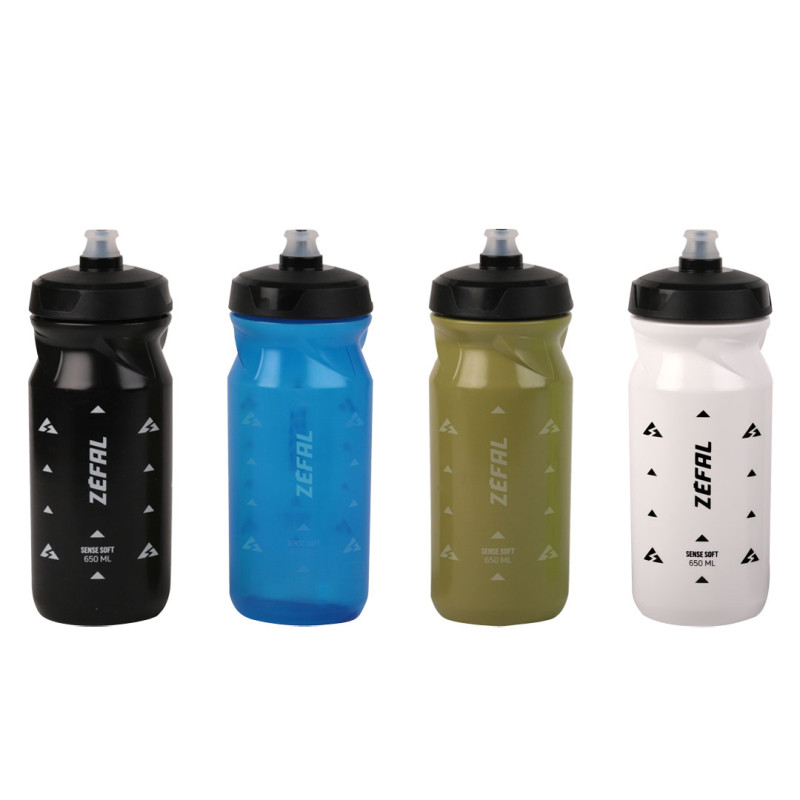
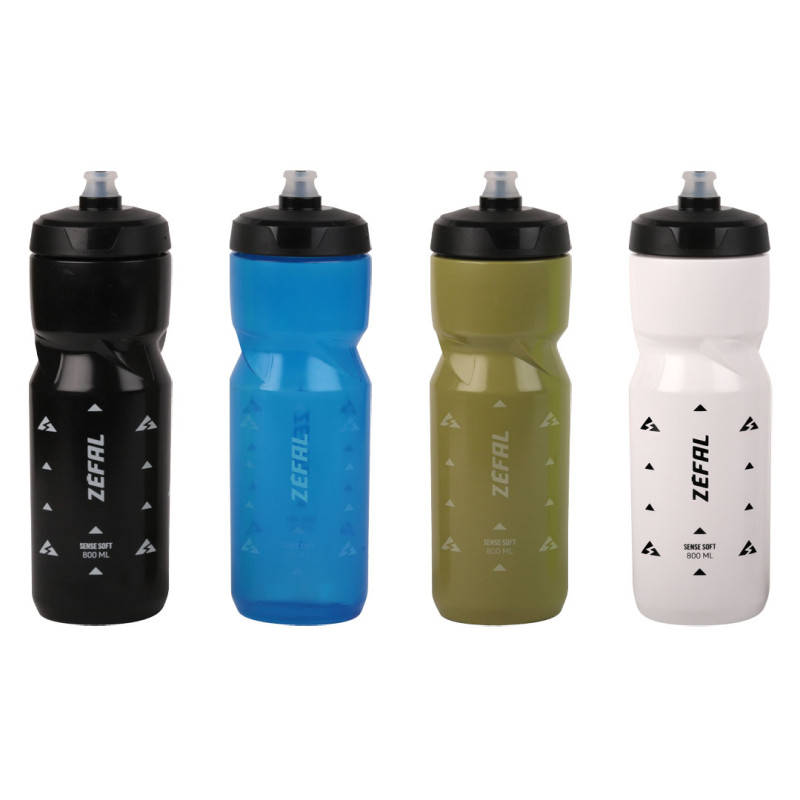
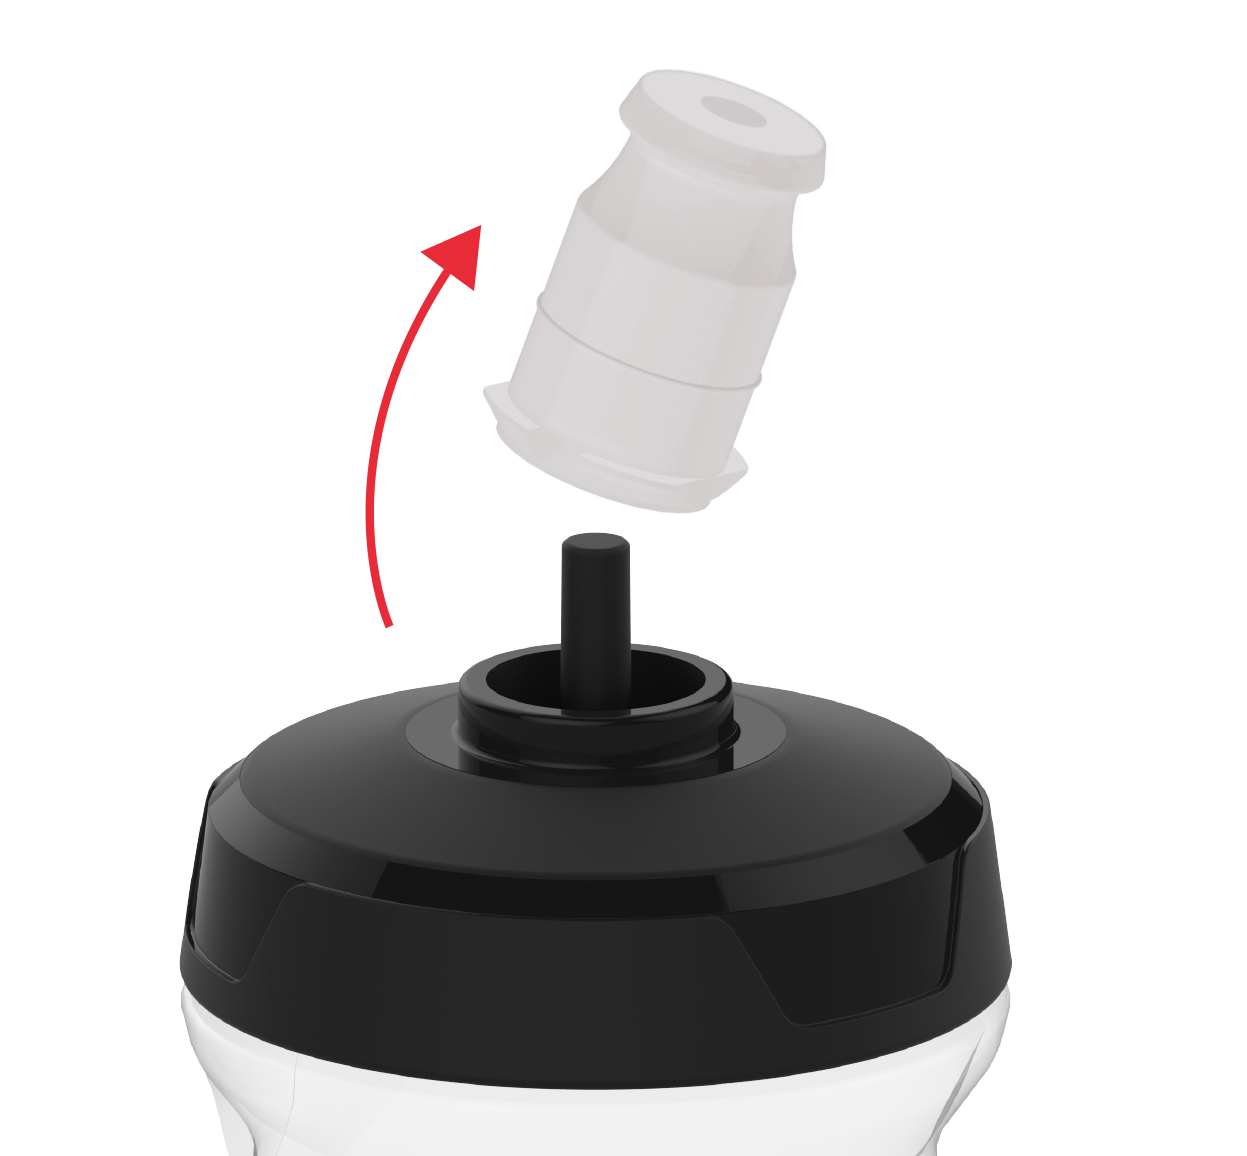
Silicone Nipple: The "Pro" and "Soft" bottles models feature a silicone nipple that not only gives you a great mouth feel, but can be easily removed for easy cleaning and access to the cap system.
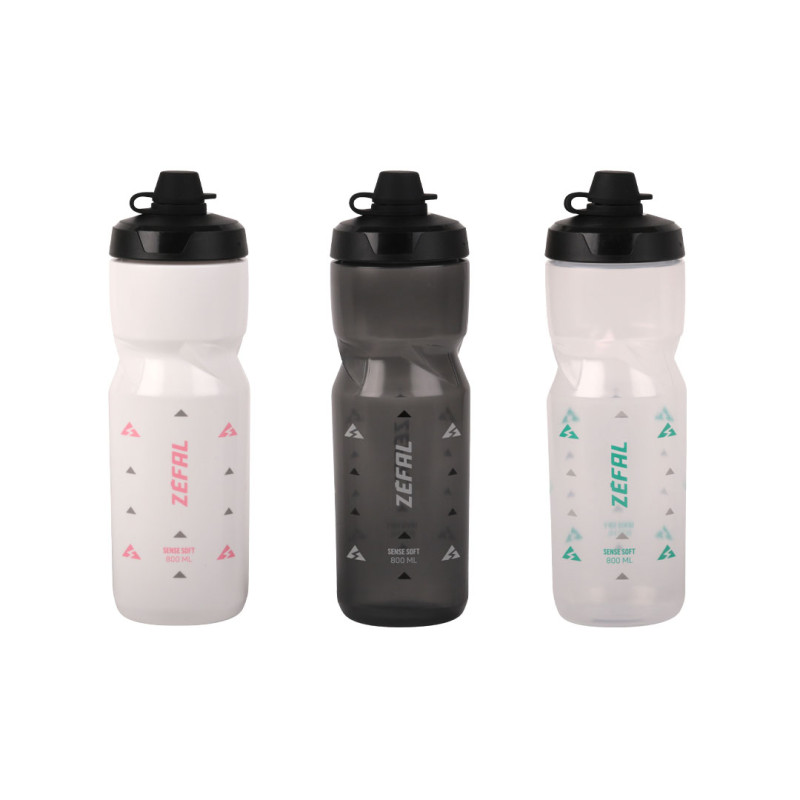
The No Mud: our new Sense Soft No Mud bottles are equipped with a cap that keeps the nipple free of dirt and keeps your drink clean in all circumstances! Convenient for muddy rides during the fall and winter, you can easily open it while riding.
The PRO-CAP system: its double closing system will prevent you from finding your bottle all sticky after your drink has been spilled during transport or outing.
All Zéfal bottles are dishwasher safe.
Clean and disinfect the mouthpiece (nozzle) of your bottle:
Disassembly and cleaning:
- Place the nozzle in the open position.
- Grasp the nozzle by making a pinch with your thumb and forefinger, then pull it out with a rocking motion to the side. The nozzle is now detached from the lid.
- Put it under warm water, clean it by rubbing with soap or washing-up liquid.
- To disinfect the nozzle or for a more thorough cleaning, you can use natural disinfecting and non-aggressive products, such as white vinegar, baking soda or lemon juice. There are also special cleaning tablets, but it is better to use bleach or chlorine.
- Dip the nozzle in a mixture of warm water and disinfectant (white vinegar, baking soda, lemon juice or tablet) and let it soak for 5 minutes.
- Rinse with clean water.
- Let it dry.
Reassemble:
- Repeat the procedure to insert the nozzle into the lid.
- Apply a light pressure with a rotating movement.
- Push the nozzle all the way in until it comes to a stop with its housing (closed position).
- Before screwing the lid back on the bottle, turn it over to check that the four notches in the nozzle match their housings. If necessary, turn the nipple on itself to match them.
- Check the nozzle for proper operation (sliding).
If the nozzle is damaged and you want to replace it, it is possible to buy it on our online store. So you have the choice, for economic or ecological reasons, to extend the life of your nipple, rather than throwing it away!
Of course, there will come a time when your bottle will have had its day. Worn out by falls, thousands of kilometers or poor maintenance, you will have no choice but to throw it in the garbage... However, our bottles are recyclable. In order to make the sorting process as efficient as possible, we advise you to manually separate the different elements that make up the bottle: nozzle, lid and body. Then deposit them in the recycling garbage can or in a waste collection center where they can be reprocessed in the appropriate channels.


